Incline Push Up Medium
Also known as: Incline Press Up • Elevated Push Up
Put your paws on a sturdy log or bench and do a friendly push-up climb. The incline makes it easier than floor push-ups, so you can practice strong, smooth reps. Keep your belly tight like you are protecting a honey pot, and press the ground away with proud bear power.
Instructions
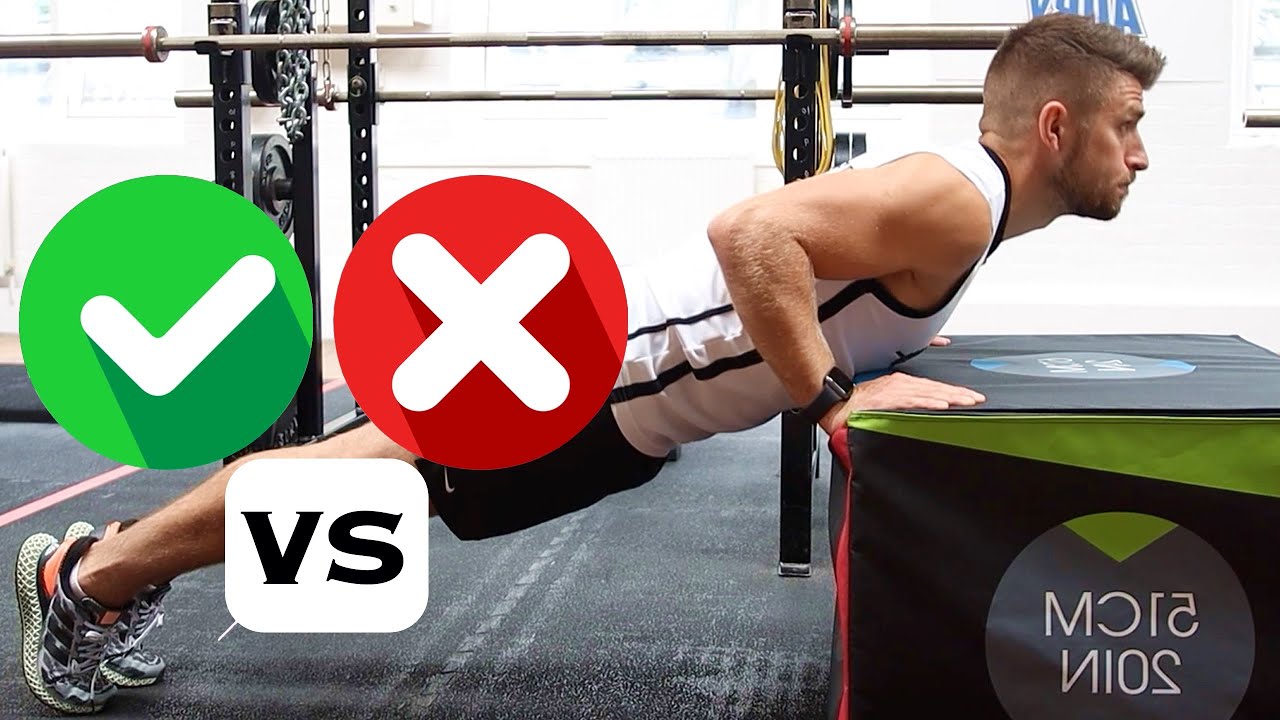
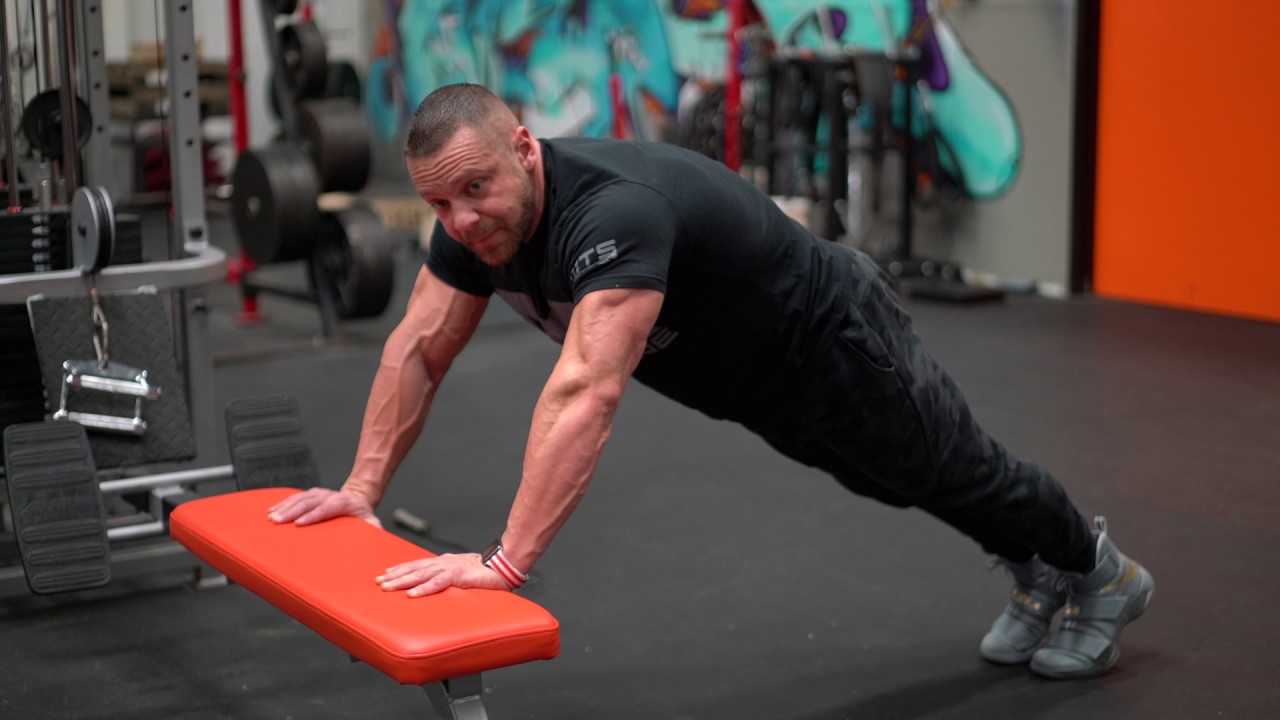
- Place hands on a stable elevated surface (bench, box, or countertop), slightly wider than shoulder-width.
- Walk feet back until your body forms a straight line from head to heels.
- Brace your core and squeeze glutes to keep hips from sagging.
- Lower your chest toward the edge of the surface by bending elbows, keeping elbows about 30 to 60 degrees from your torso.
- Pause briefly near the bottom without collapsing the shoulders.
- Press through your palms to return to the start, fully extending elbows without locking aggressively.
- Repeat for the desired number of reps.
Benefits
- Builds pushing strength for chest, shoulders, and triceps
- Improves core bracing and full-body tension
- Easier progression toward standard floor push-ups
- Low equipment requirement and easy to scale
- Reinforces shoulder stability and scapular control
Key Points
- Maintain a straight line from head to heels; avoid sagging or piking.
- Keep shoulders down and back; do not shrug toward ears.
- Control the descent and press up smoothly.
- Choose an incline height that allows full range of motion with good form.
- Keep wrists stacked under shoulders and hands firmly planted.
Common Mistakes
- Letting hips sag or piking the hips up
- Flaring elbows straight out to the sides
- Bouncing off the surface or using partial range of motion
- Shrugging shoulders toward the ears
- Hands placed too far forward, stressing shoulders
- Dropping the head or craning the neck
Muscle Groups
TricepsShouldersCoreChest